How to Use the Suppression List in MXFilter
Last updated Changelog
On this page
When an email you send hard-bounces, for example because the address doesn’t exist, MXFilter adds that address to a suppression list. Further emails to it are refused straight away with BOUNCING_DESTINATION, instead of being sent again and again. This protects your domain’s sending reputation. You can see the list and unblock addresses here.
Before you start
- Open MXFilter from your control panel: from cPanel or from DirectAdmin.
Steps
-
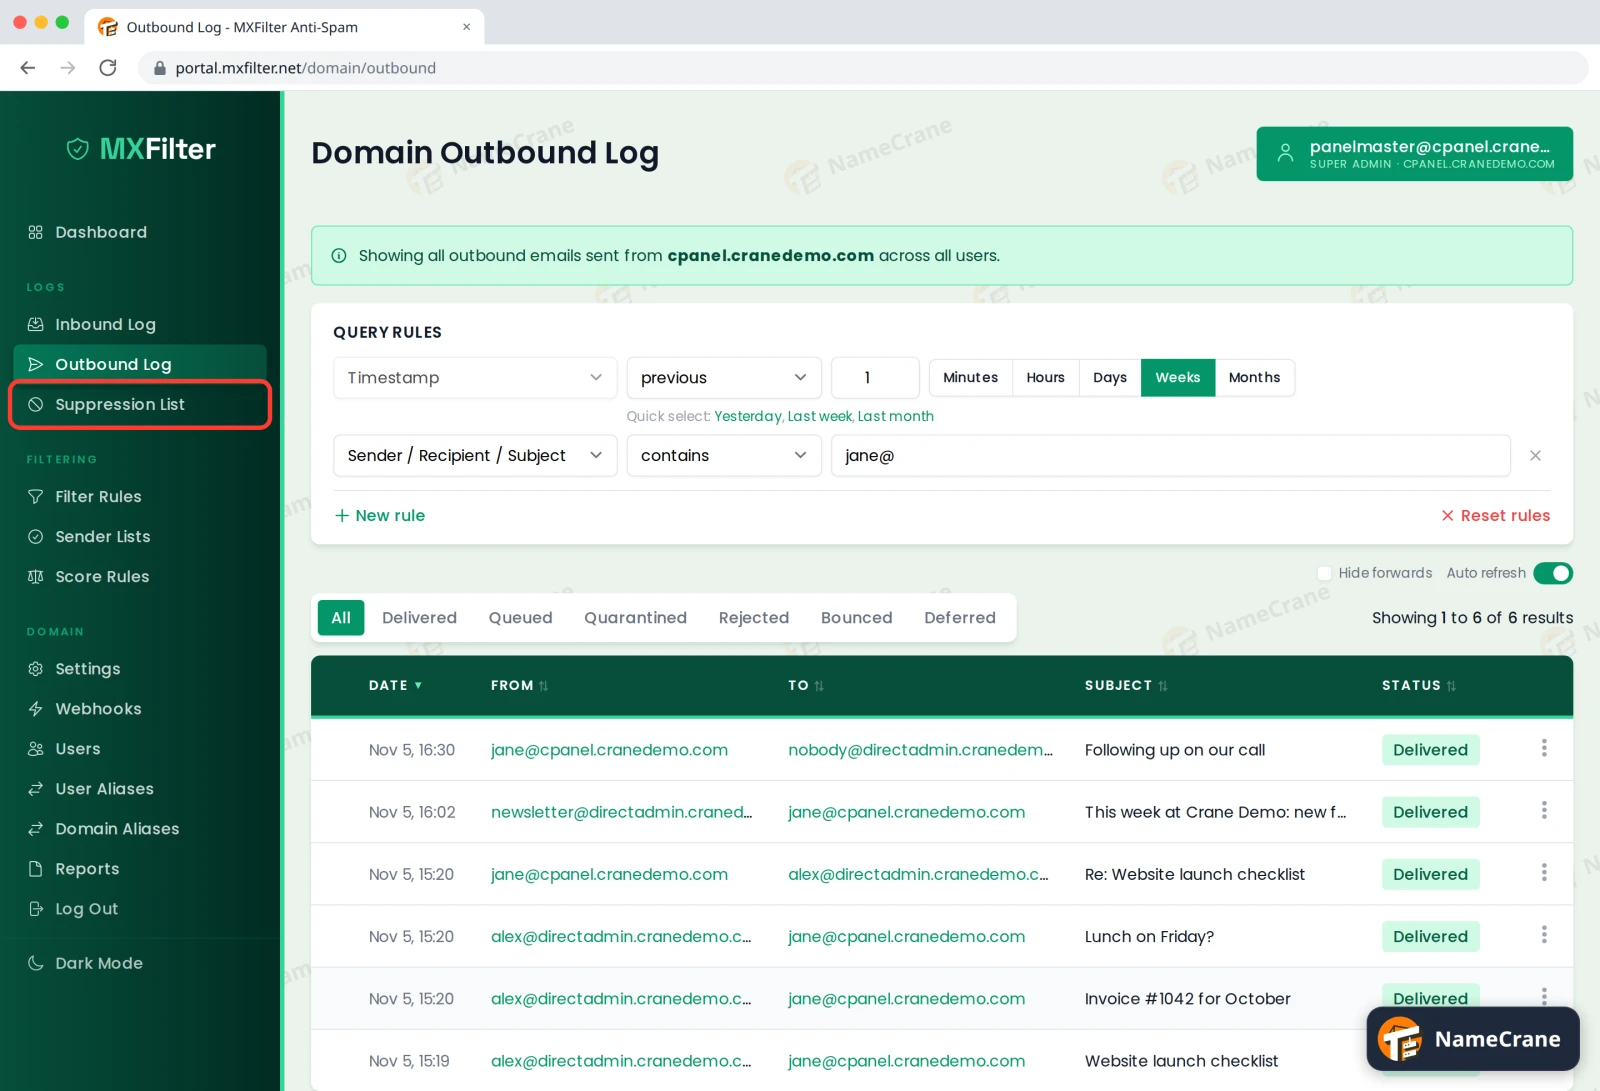
In the MXFilter menu, under Logs, click Suppression List.
-
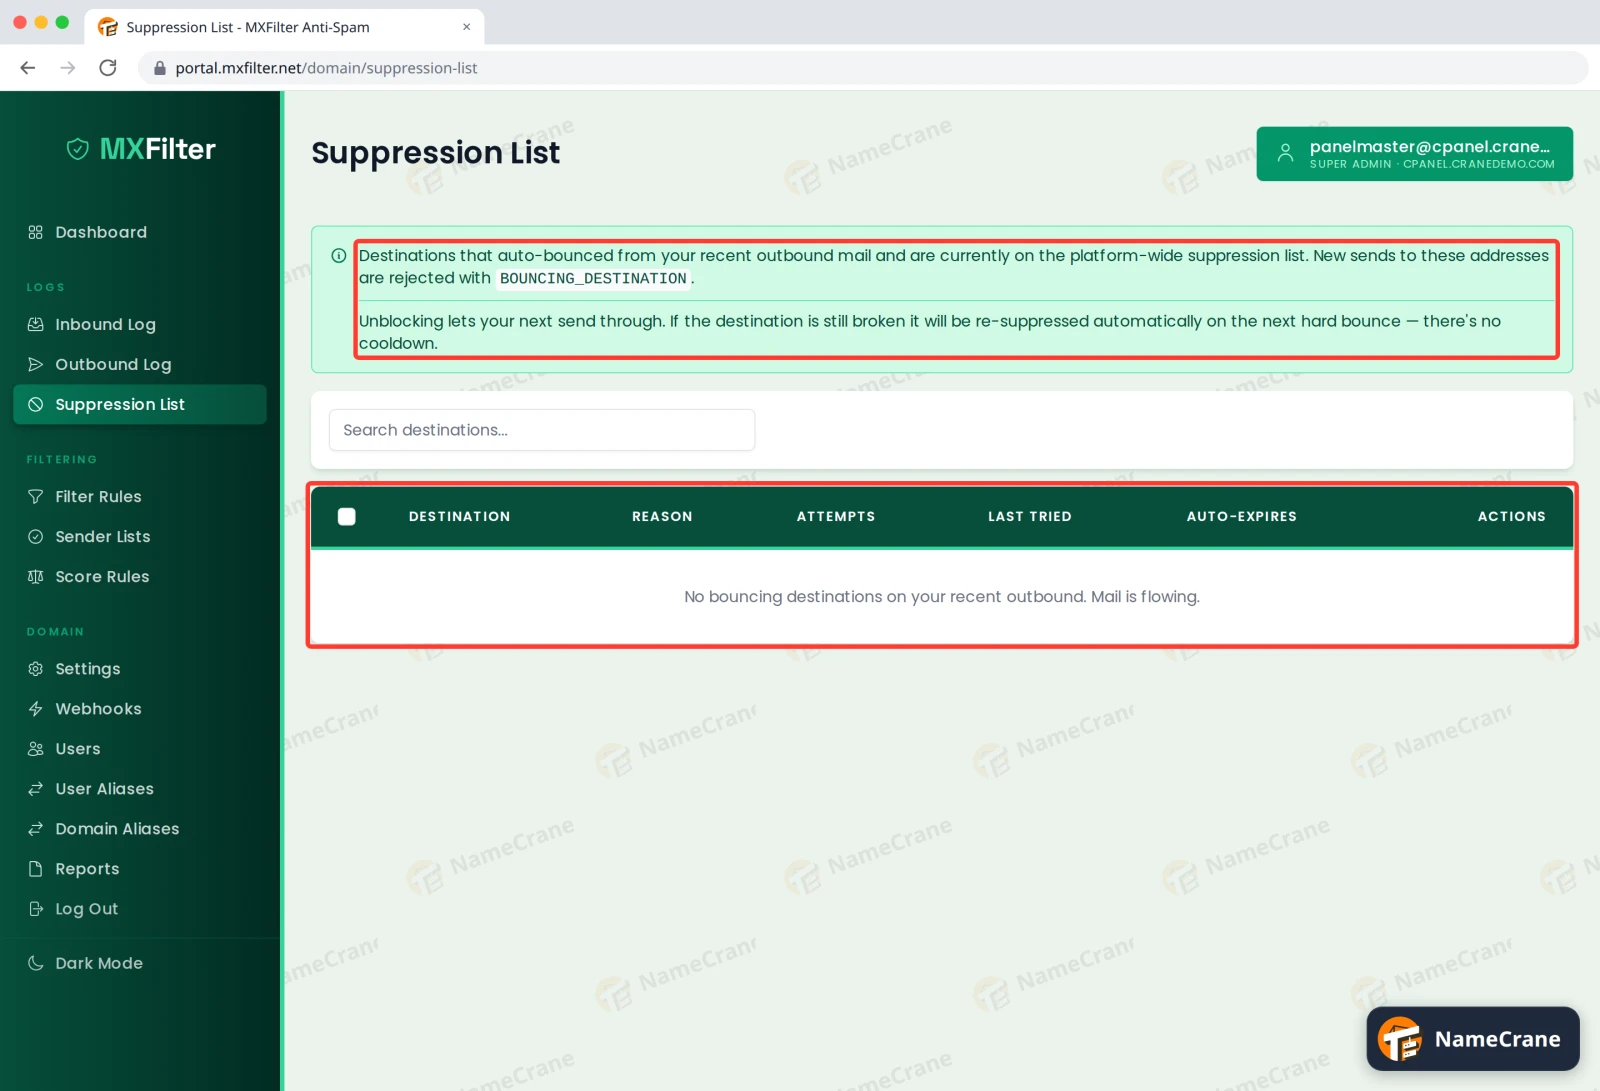
Any suppressed addresses from your recent sending are listed with the Reason, how many Attempts were made, when it was Last Tried and when it Auto-Expires. If the list is empty, you’ll see “No bouncing destinations on your recent outbound. Mail is flowing.”
-
If you know the problem is fixed (the recipient has set up their mailbox, or you’ve corrected a typo in your contacts), use the unblock option in the Actions column. Your next email to that address will go through.
Note: There’s no waiting period after unblocking. If the address is still broken, it will be suppressed again automatically on its next hard bounce. Entries also expire by themselves at the time shown under Auto-Expires.
Troubleshooting
| Problem | What to do |
|---|---|
Email to an address fails instantly with BOUNCING_DESTINATION |
That address is on this list. Check the Reason, fix the cause, then unblock it. |
| An address keeps coming back | It’s still bouncing. Check the reason and confirm the address with the recipient another way, such as by phone. |
| I don’t see an address I expected | Only recent hard bounces are listed. Look the message up in the Outbound Log instead. |
Snagged on something? Contact support and we’ll get you sorted.