How to Give Your Team Their Own MXFilter Logins
Last updated Changelog
On this page
When you open MXFilter from your control panel, you’re signed in as the domain’s Super Admin. You can also give colleagues their own MXFilter login, either to help manage the filter or just to check their own quarantined email, without sharing your control panel password.
Note: MXFilter adds a User for each mailbox automatically the first time it receives email, so you’ll often see your mailboxes listed already. They don’t get a portal password until you set one.
Before you start
- Open MXFilter from your control panel: from cPanel or from DirectAdmin.
Steps
-
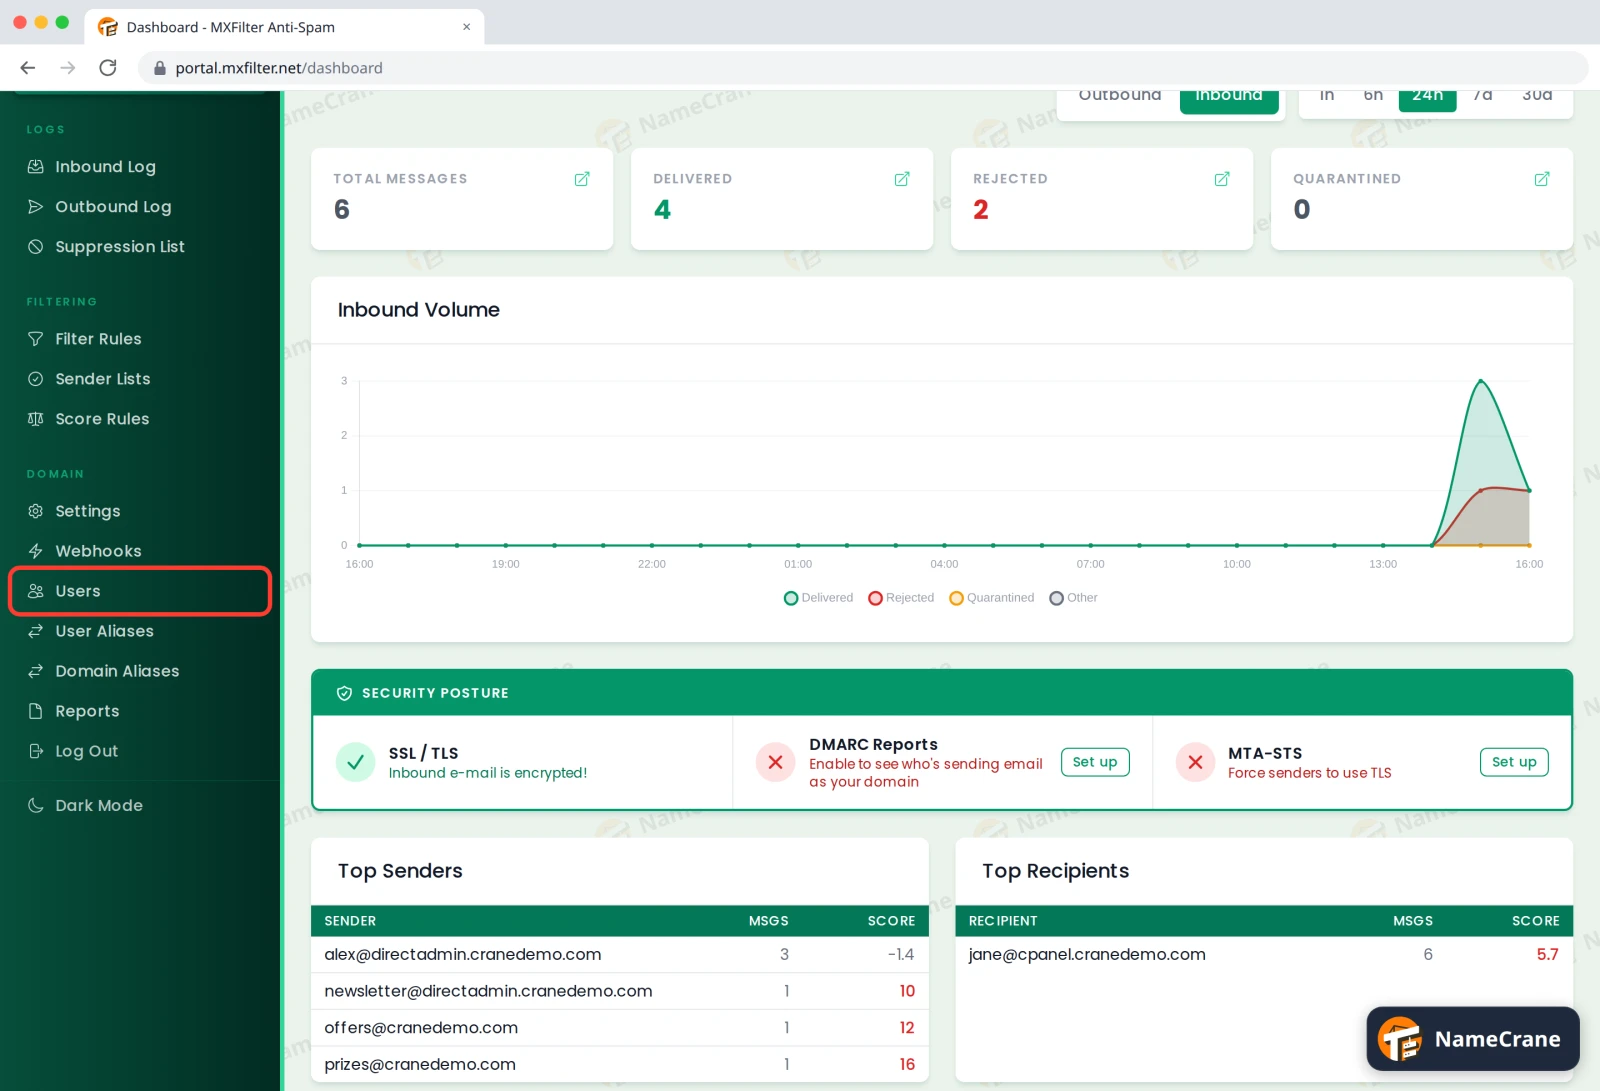
In the MXFilter menu, under Domain, click Users.
-
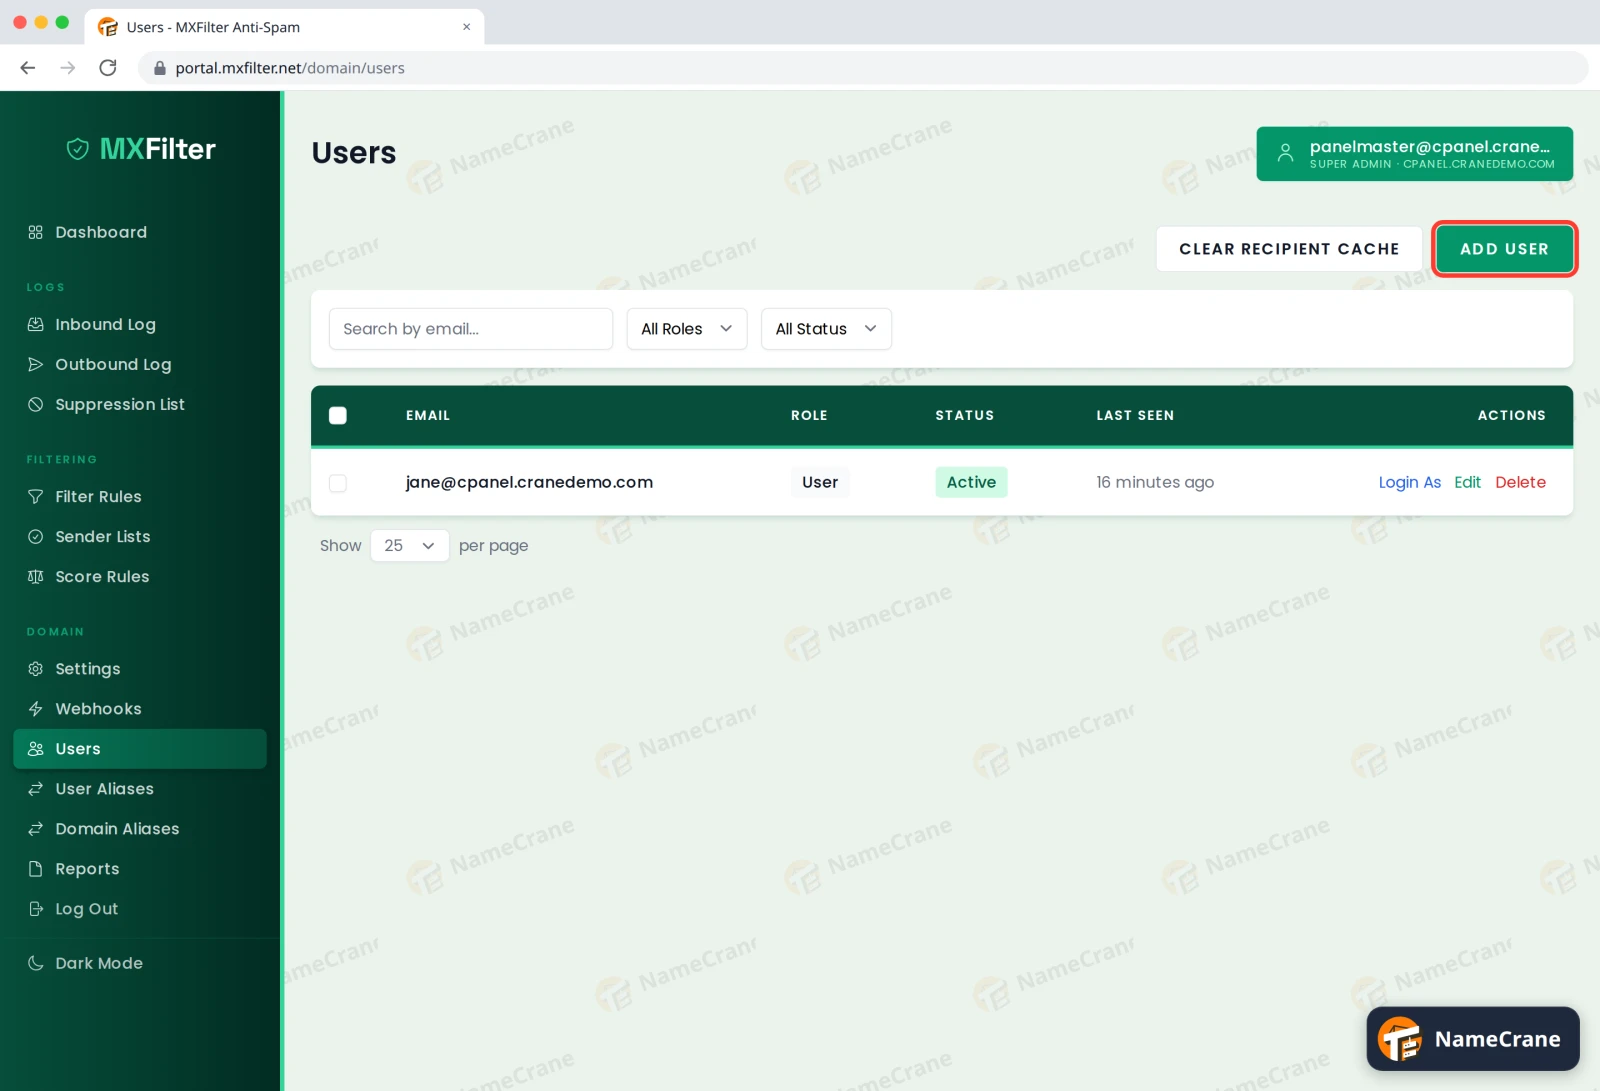
Click Add User.
-
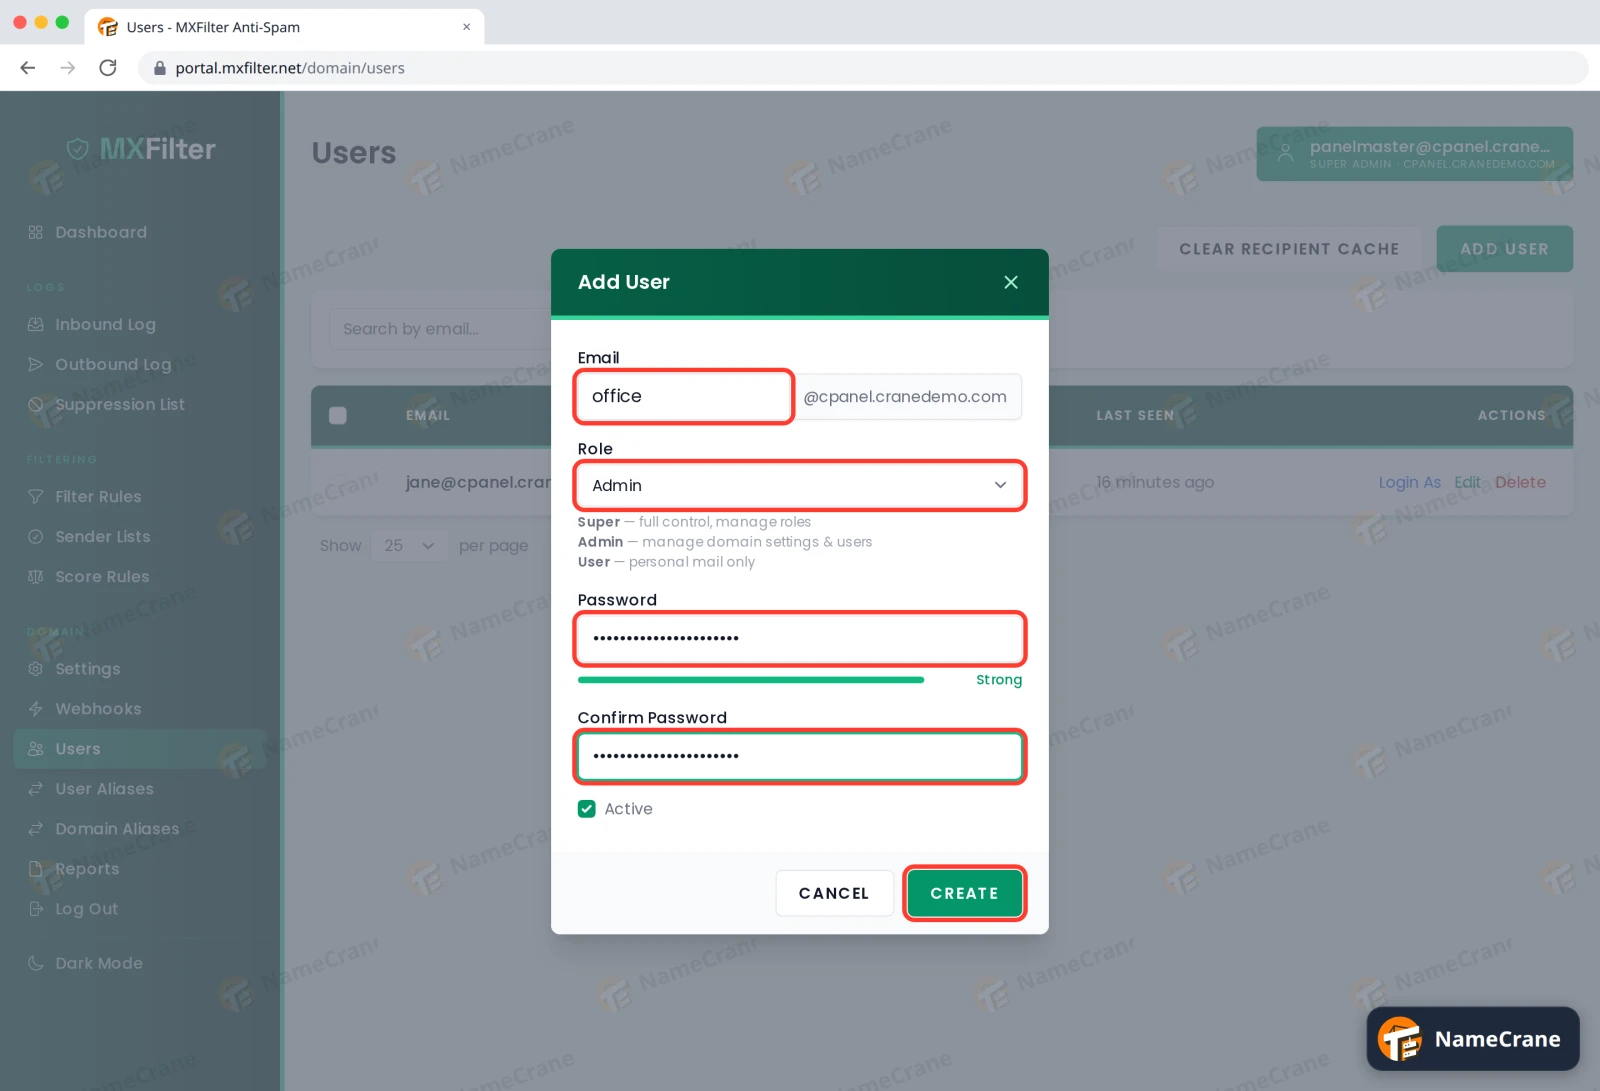
Fill in the form, then click Create:
- Email: the part before the @. Your domain is filled in for you.
- Role: how much they can do (see the table below).
- Password and Confirm Password: their portal password. Leave both blank if they shouldn’t be able to sign in.
- Active: leave ticked.
-
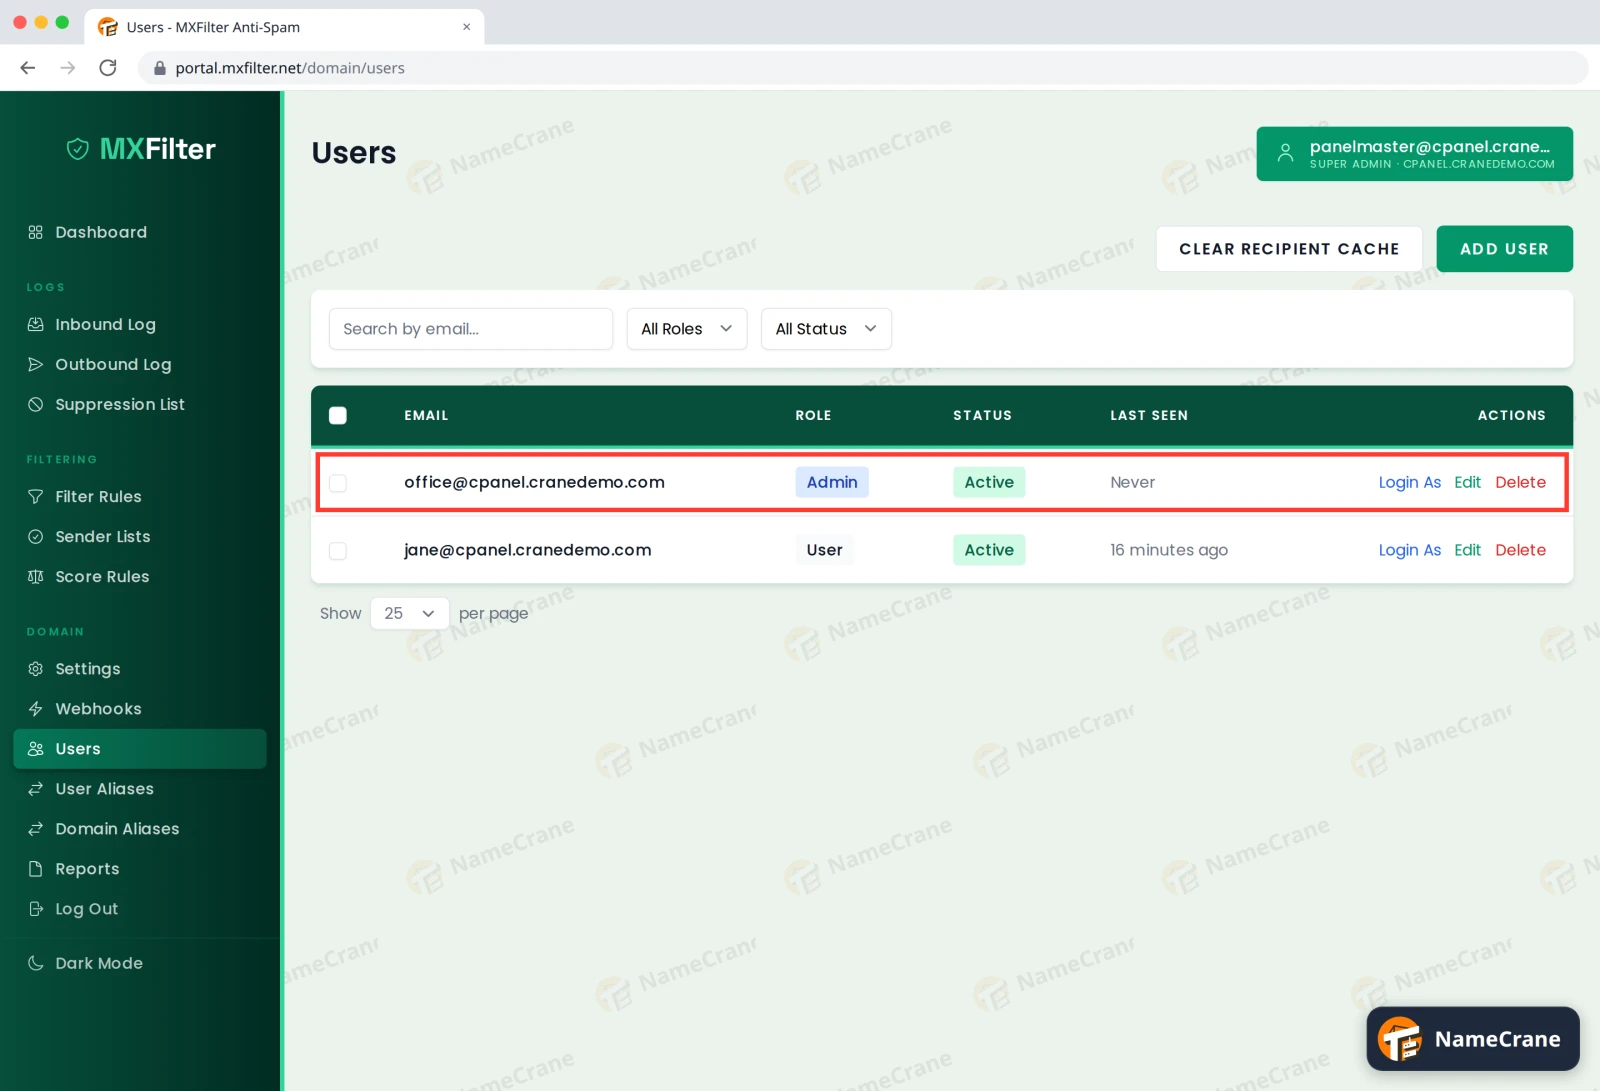
The new user appears in the list.
Roles
| Role | Can do |
|---|---|
| Super Admin | Everything, including changing other people’s roles. |
| Admin | Manage the domain’s settings, rules and users. |
| User | See and manage their own email only, such as their quarantine and personal allow/block list. |
How your team signs in
Send them to https://portal.mxfilter.net/login. They can choose:
- Email Link: enter their email address and MXFilter emails them a one-time sign-in link. No password needed.
- Password: their email address and the password you set.
Tip: Use Login As next to any user to see MXFilter exactly as they do. It’s handy when helping someone find a message.
Troubleshooting
| Problem | What to do |
|---|---|
| “The password field confirmation does not match” | Type the same password in both Password and Confirm Password. |
| A colleague can’t sign in | Check they’re Active, and that you set a password, or ask them to use Email Link instead. |
| Someone has left the company | Click Edit and untick Active, or click Delete to remove them. |
Snagged on something? Contact support and we’ll get you sorted.